This is a comprehensive guide on how to fix water damage wall aims to equip you with the knowledge and skills to tackle this issue head-on, ensuring your home’s integrity is restored to its former glory.
Water damage is a homeowner’s nightmare, silently creeping in and leaving a trail of destruction in its wake. Whether it’s a leaky roof, water stains, or peeling paint, ignoring the problem can lead to costly repairs and structural damage down the line.
A Comprehensive Guide on How to Fix Water Damage Wall
A comprehensive guide makes the process fun and easy. Fixing water damaged drywall needs immediate attention to prevent any further damage. We provide this guide for both homeowners and commercial owners to follow. You don’t want to be lost while dealing with this tragedy.

Identifying the Water Damage
The first step in addressing water damage is to identify the source of the problem. Look for signs such as water stains, wet drywall, or mold growth, which can indicate the presence of water leaks.
It’s essential to locate the root cause, whether it’s a leaky roof, plumbing issues, or other sources, to prevent further damage.
Spotting the signs of water damage
How do you know when you’re dealing with water damage? Look for discoloration on your walls, often brown, yellow, or copper in color. Your walls might also bubble, peel or crack. Be on high alert if you notice a musty odor as it is a strong indication of mold, which often follows water damage.

Understand the extent of the damage
After spotting the damage, the next step is assessing the severity. Light water damage may only affect the surface of the wall, while severe cases can infiltrate the wall’s interior. The sooner you understand the extent of the damage, the better you can plan the appropriate fix.
Safety Check
Before starting any repairs, it’s crucial to prioritize your safety. You need to check everything from small to big areas. Plus, safety checks are the most important step you don’t want to skip. You also want to repair water-damaged walls with safety precautions.
Check for electrical hazards
Remember, water and electricity are a lethal combination. Ensure power points, wiring or electrical appliances aren’t wet or in contact with water.
Assess structural stability
Check the stability of the area. If water has significantly penetrated the wall, it might have compromised the overall integrity of the structure.
Use protective gear
To safeguard your health, use protective equipment like gloves, safety glasses, wear safety goggles, and dust masks, which can protect you from harmful particles or substances.
Stopping the Water Source
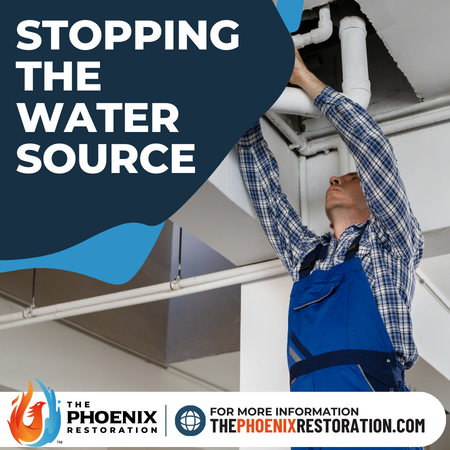 Once you’ve identified the water damage and taken necessary safety precautions, it’s essential to address the root cause – the water source.
Identifying where the water is coming from
Water leaks can originate from various sources, including plumbing issues, a leaky roof, or external seepage. Locate and fix the leak to prevent further water damage.
Fixing leaks
Many minor leaks can be fixed with tools readily available at home and some DIY effort. However, ensure you are confident of your abilities as a poor fix could exacerbate the problem.
Seeking professional help for serious leaks
Complex issues may need professional attention. Plumbers or water leak specialists can efficiently address substantial or hard-to-find leaks.
Preparing for the Repair
Proper preparation is key to a successful repair process. Gather all the necessary tools, such as a sharp utility knife, a drywall saw, a taping knife, sandpaper, and drywall screws.
Gathering the necessary tools
Ensure you have all the necessary tools at your disposal. Depending on the extent of the damage, you might need a variety of tools like a utility knife, a drywall saw, a taping knife, and sandpaper, among others.
Protecting your furniture and other unaffected areas
Before starting, relocate your furniture and protect your floor and unaffected areas to avoid secondary damage like stains or dust accumulation.
Organizing your workspace
Keep your tools and materials organized. A cluttered workspace can hinder your efficiency and lead to avoidable accidents. You don’t want to keep looking during the repair process, right?
Removing the Affected Materials
After assessing and preparing, you can begin work on the damage itself. Always remember to take it slowly but surely.
Cutting out damaged drywall
Using the appropriate tool, carefully cut out the damaged drywall without affecting the surrounding areas. Make sure to extend a little beyond the damaged portion to ensure all the moisture-damaged wall is removed.
Removing damaged plaster
If your wall is plaster, remove the compromised material. Keep the edges clean for easy repair in the next stages.
Safe disposal of damaged materials
Dispose of damaged materials safely. Drywall and plaster can be heavy and sharp. Use thick contractor bags to prevent any cuts or spillage.
Drying and Cleaning the Area
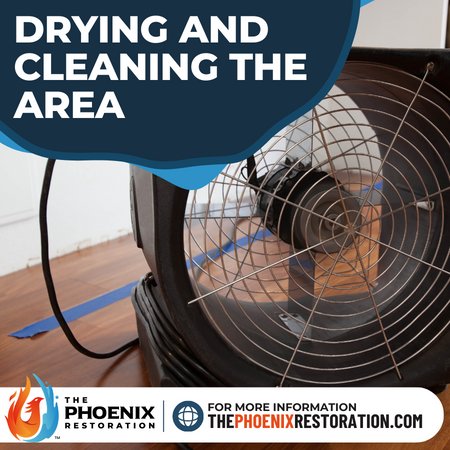 After removing the damaged materials, it’s crucial to completely dry the area using fans and dehumidifiers. Proper drying is essential to prevent mold growth and ensure a successful repair.
Using fans and dehumidifiers
Fans can help speed up the drying process, while dehumidifiers pull out any excess moisture from the air.
Sanitizing the affected area
Once dry, sanitize the area to kill any bacteria or fungi spores that might have formed due to the damp environment.
Preventing mold and mildew growth
Proper sanitization and drying should keep mold and mildew at bay. However, for added protection, consider using mold-resistant products when repairing the area.
Repairing the Wall
With the area cleaned and dried, you can begin repairing the water damaged walls.
Choosing the right materials for repair
Choose materials according to your wall type. If you removed drywall, use a new drywall patch. For plaster walls, use a patching compound suitable for plaster.
Installing new drywall or plaster
Install the new drywall or plaster carefully, ensuring it’s secure and flush with the rest of the wall.
Applying joint compound and tape
Use joint tape and joint compound to secure and smooth the edges around the repair. This will blend the patch with the rest of the wall.
Sanding and Finishing the Wall
The final step is to sand the repaired area, using fine-grit sandpaper and light pressure to achieve a smooth finish. This stage requires care.
Proper sanding techniques
Sanding makes the wall smooth. Use fine-grit sandpaper and light pressure to prevent any unnecessary damage.
Applying primer
Before painting, apply a primer to prevent moisture from seeping through and hide any joint compound underneath.
Choosing the right paint
When choosing paint, consider the moisture level of your room. Bathrooms and kitchens might require paint that can withstand higher levels of moisture.
Preventing Future Water Damage
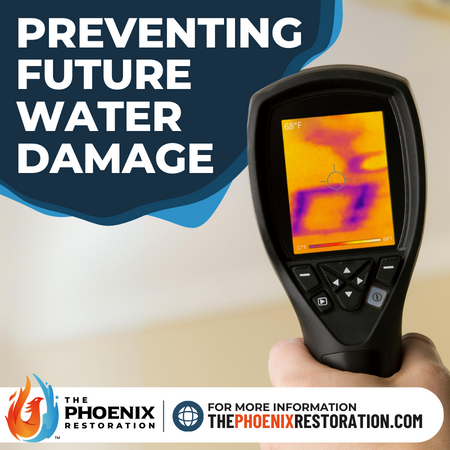 Preventing future water damage is an essential part of the recovery process. Water damage within residential properties is a main factor to property loss and damage.
Its consequences extend to the growth of black mold, the deterioration of drywall, and significant repercussions on the foundational integrity and structural stability of the home. Moreover, it can attract unwelcome inhabitants such as termites and carpenter ants, seeking refuge in damp wood.
being vigilant in preventing water damage is essential. Here are several tips and ways on how to prevent water damage to your home:
Waterproofing walls
For basements and other high-risk areas, consider waterproofing your walls. This can be an effective preventive measure against future water damage.
Regular maintenance checks
Regularly inspect your home for leaks, condensation, and moisture issues. Doing so can help prevent the severity of water damage in the future.
Understanding common causes of water damage
Awareness helps in prevention. Know the common causes of water damage, such as poor waterproofing, plumbing issues, and HVAC system problems, among other things.
Hiring a Professional
While DIY repairs are suitable for minor water damage, severe cases may require professional help. If the damage exceeds your capabilities, seek assistance from a licensed, insured, and reputable contractor. Understanding the cost of professional repairs can help you make an informed decision and plan accordingly.
Overall, while dealing with water damage can be demanding, acting quickly and efficiently can help you restore your home to its former glory. Stay safe, take the necessary preventive measures, and when in doubt, always seek professional advice.
By following the steps outlined in this comprehensive guide on how to fix water damage wall, you can restore your walls to their former glory or you can also call The Phoenix Restoration for a professional help.
Water damage? Act fast. Mold can start growing within 24 to 48 hours. Our team provides 24/7 water damage restoration and mold remediation throughout Palm Beach County. Call (954) 866-8408.